Project
Pontoon Picnic Table
Also known as “Out To Lunch”
A floating picnic platform built under $100.
A DIY pontoon picnic table designed, built, and stress-tested on Arizona’s Salt River. Built from four 55-gallon steel drums, scrap lumber, and custom welded brackets to survive shallow drags, rock strikes, and aggressive load shifting.
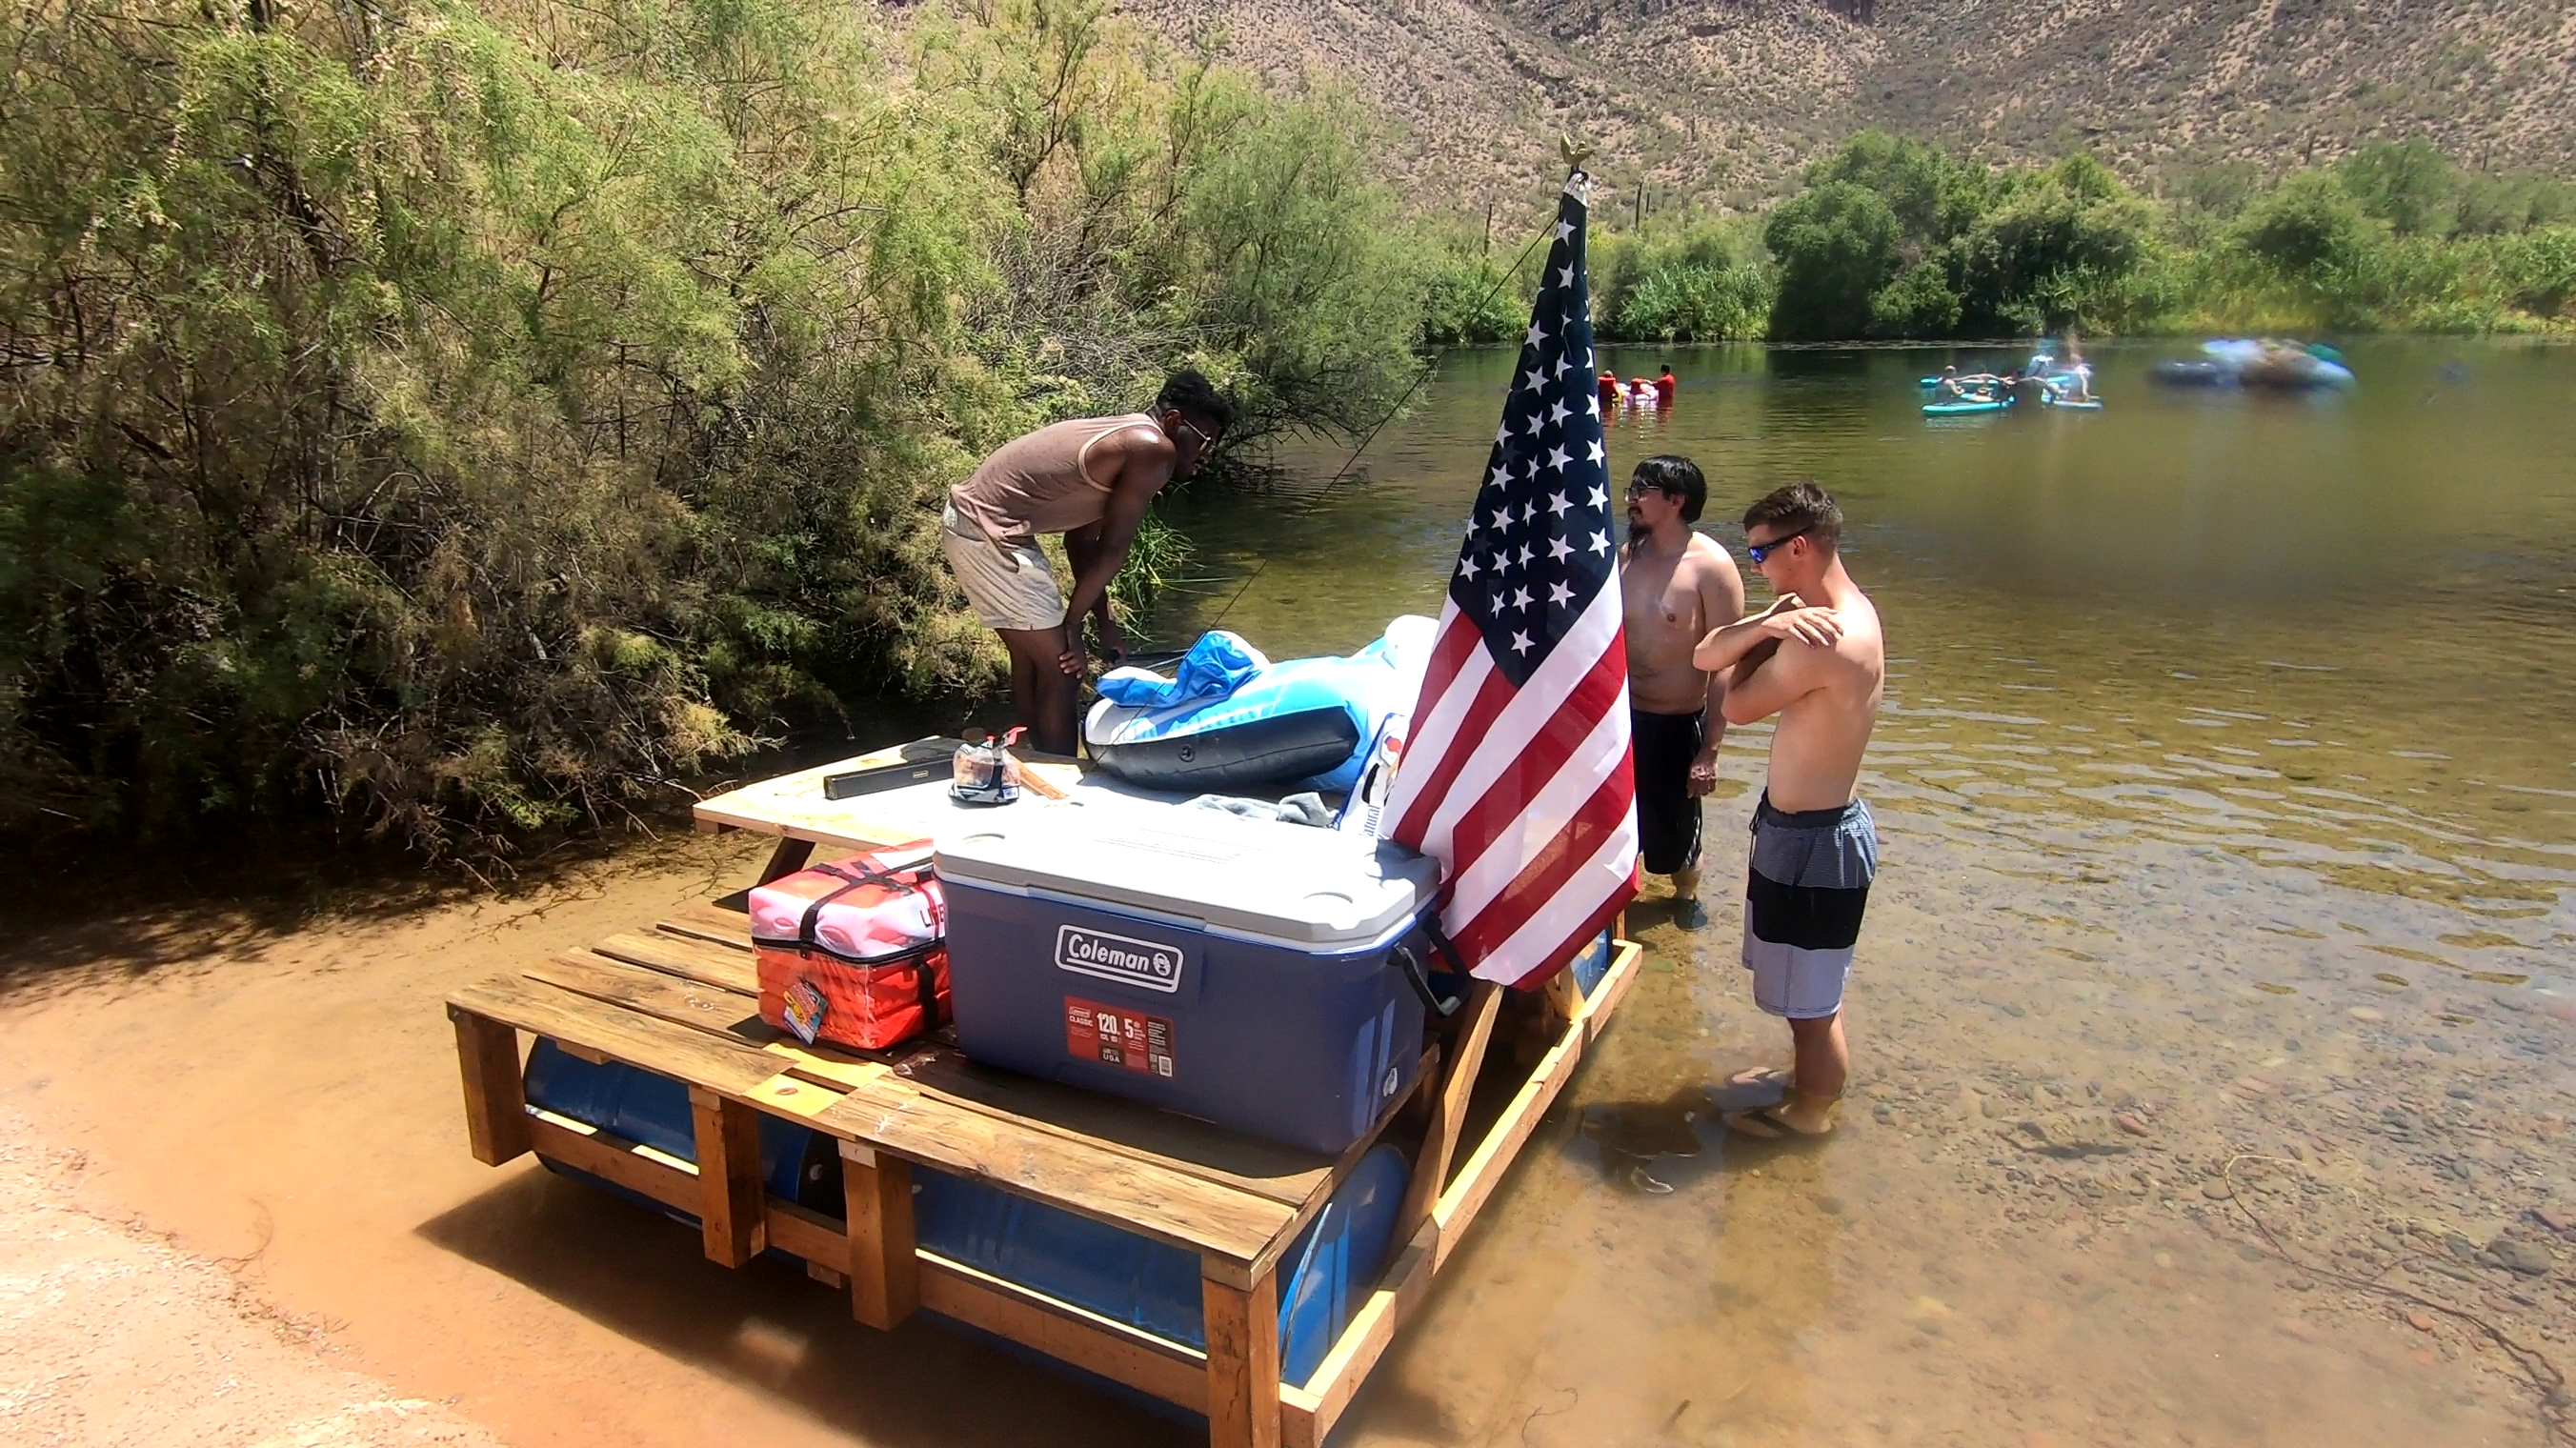
Fully loaded pre-launch.
Why
This started as a summer side quest: turn a cheap river float into a full picnic experience. The real goal was not “float once.” The goal was to build something that could take abuse: shallow drags, rock strikes, rapid currents, and a fully loaded crew, while staying under $100 and staying legal for transport in a pickup.
Constraints
- Under $100 total materials cost (excluding gas).
- Buoyancy for minimum 4 people, calculated up to 8.
- Structural stability through shallow-water drag and rock strikes.
- Transportable in a pickup truck within Arizona overhang limits.
- Large usable tabletop area for food and drinks.
- Operable in ~1 ft depth with ~300 lbs of people plus ~50 lbs of gear.
What
A pontoon picnic table built from standard construction lumber and four 55-gallon drums, mounted using custom welded steel brackets. The structure was designed around weight distribution and stability first, then optimized around budget and transport constraints.
Primary materials
- 2x4 lumber + scrap (including a reclaimed door)
- 4 × 55-gallon steel drums
- Custom brackets welded to drums
- Long through-bolts, sealant, caulk
- Vinyl flooring on seating surfaces
My role
- Designed the structure and layout
- Fabricated and welded the barrel brackets
- Sourced materials and kept cost under control
- Coordinated launch and testing
Schematic & Plan
The design began with a rough sketch and a requirements list. The layout focused on stable buoyancy and keeping the center of mass low while preserving a usable table surface.
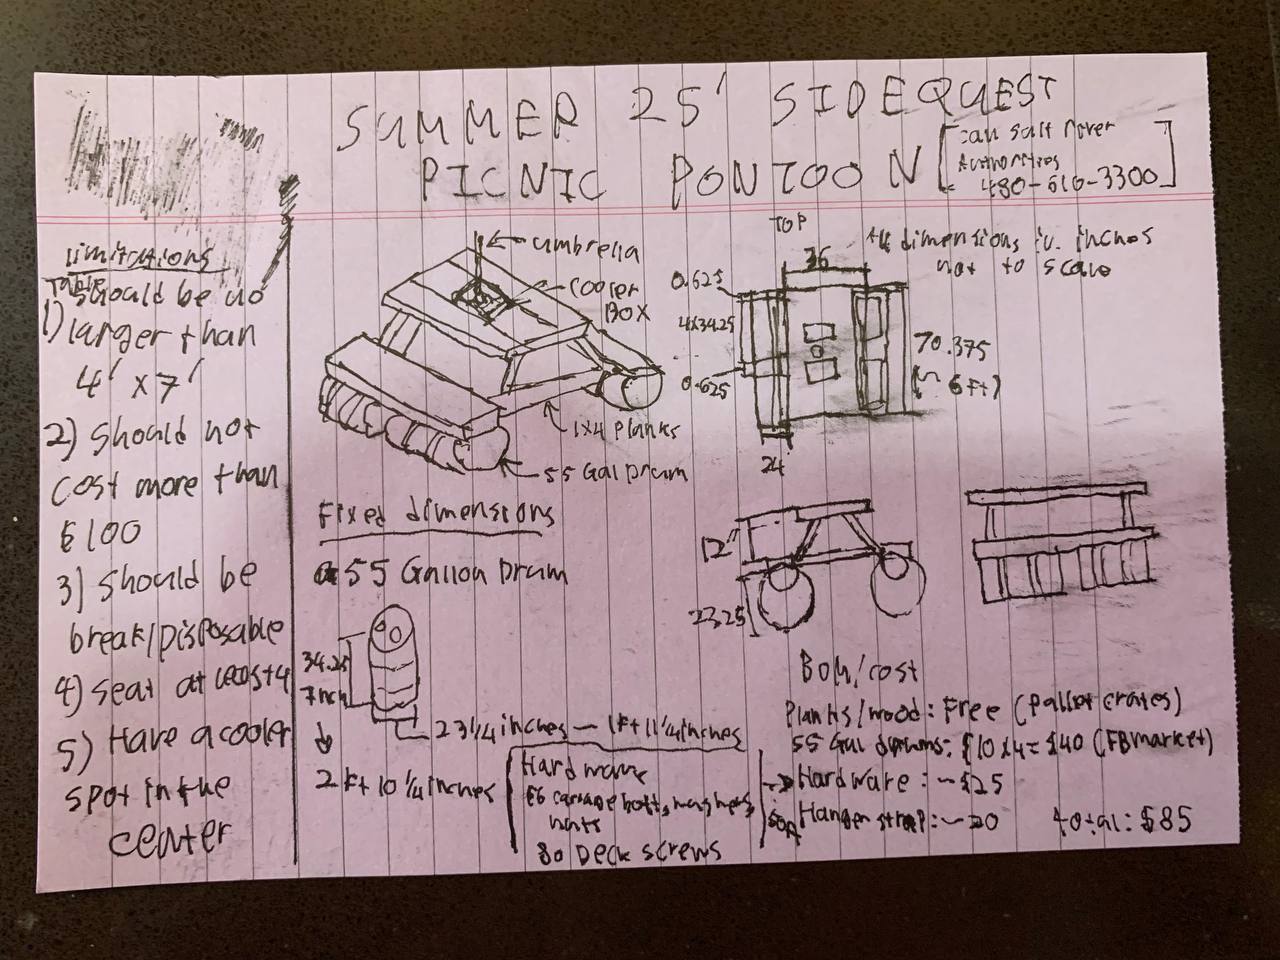
Original sketch and constraints.
Fabrication
The critical detail was the bracket system. The barrels were rigidly mounted using custom steel brackets that were welded directly to the drums, then fastened into the wood structure with long bolts.
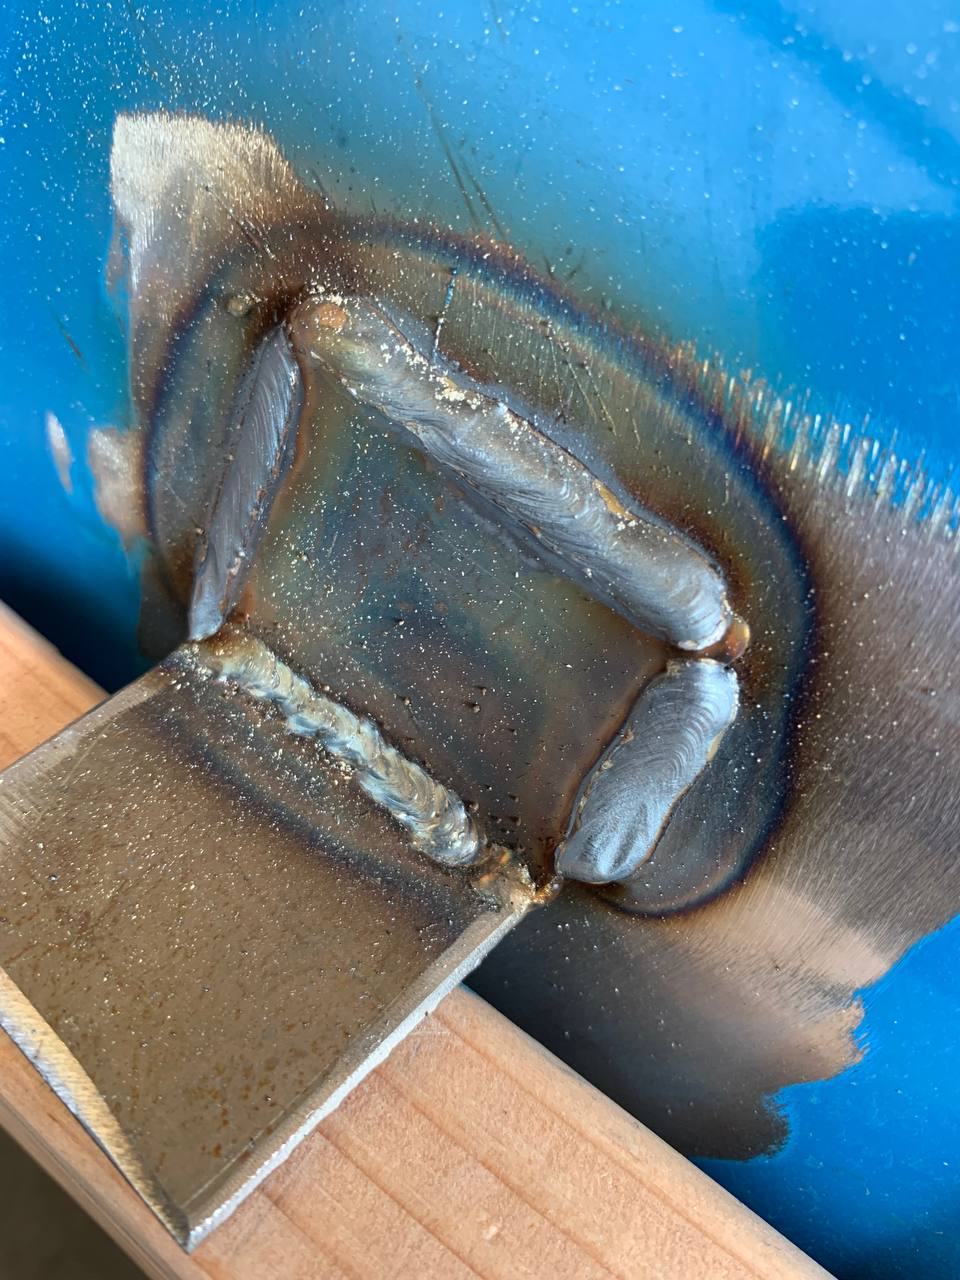
Bracket close-up. Welded mounting point.
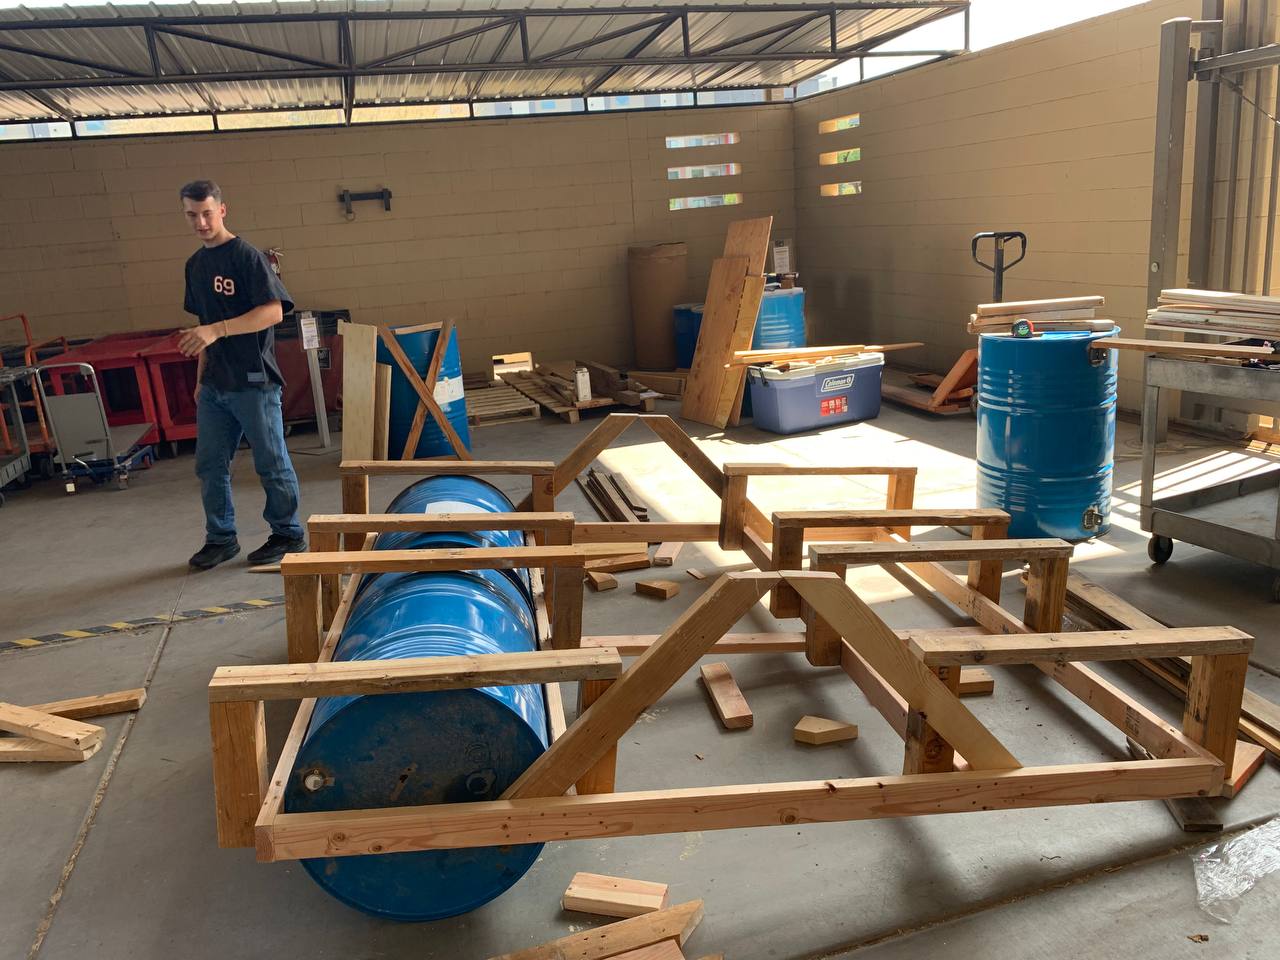
Mid-build. Frame + barrel layout.
Bill of Materials (BOM)
Cost was controlled by scavenging lumber and choosing simple hardware. The spend went where it mattered: buoyancy, fastening, sealing, and comfort.
| Item | Specification | Qty | Cost |
|---|---|---|---|
| Lumber (2x4 + scrap, incl. reclaimed door) | frame + deck + table | var | $21 |
| 55-gallon steel drums | buoyancy | 4 | $32 |
| Hardware (long bolts, fasteners) | structure + mounting | var | $20 |
| Sealant + caulk | wood + water resistance | var | $10 |
| Vinyl flooring | seat comfort layer | var | $16 |
| Total | $99 | ||
Testing & Results
This was not a gentle lake float. We stress-tested it intentionally by running it for hours on the Salt River.
- Carried 4 people for ~4 hours (Water Users → Exit 4).
- No tipping during aggressive seesaw-style bench jumping tests (roughly 300 lbs per side).
- No structural failures or leaks during the run.
- Transported legally in the bed of a pickup truck.
- Final cost came in at about $99.
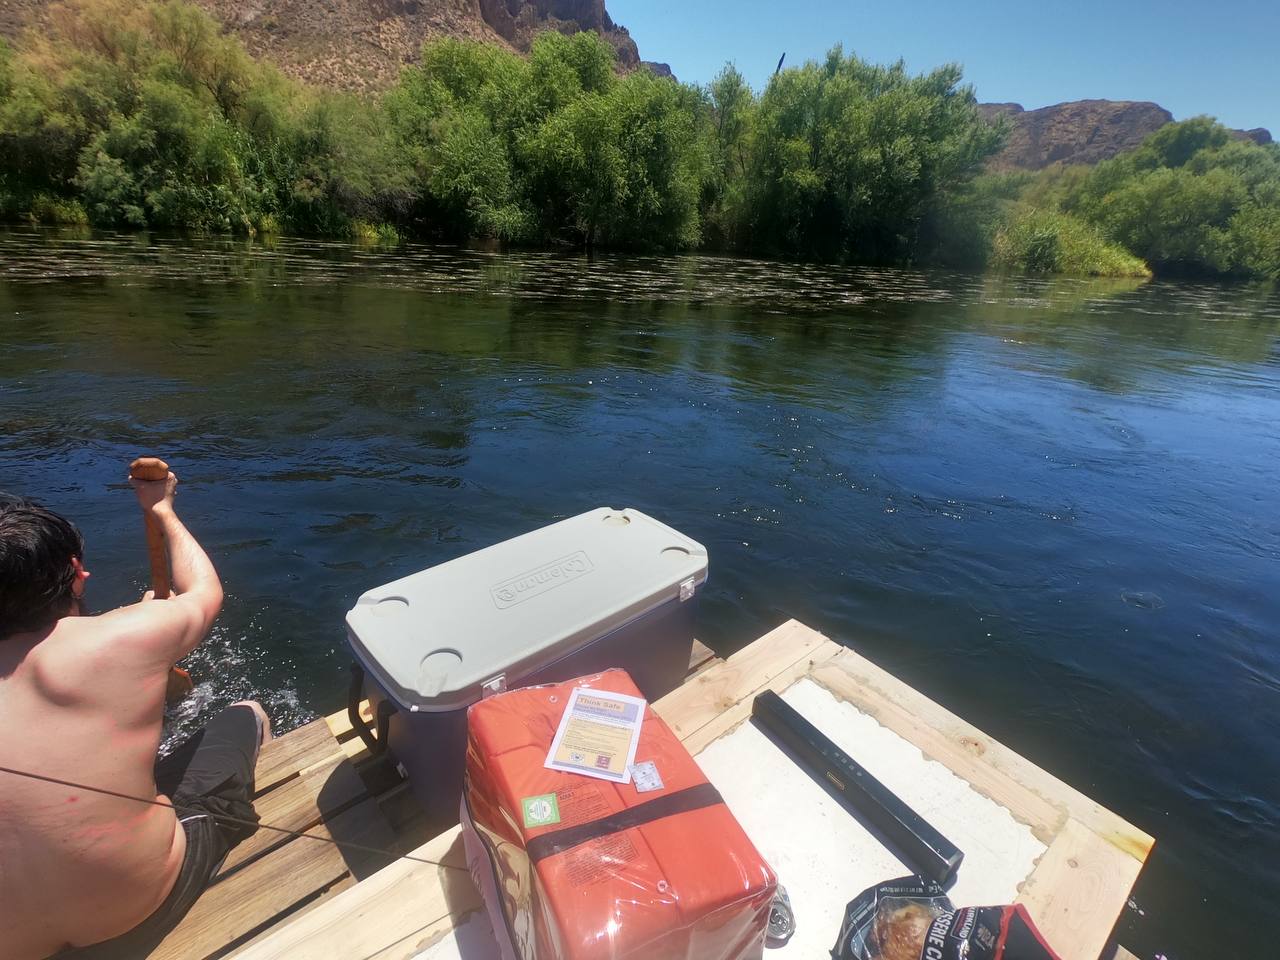
In-water action shot.
Transport
A hard constraint was pickup transport legality. The platform was designed to fit in the bed within overhang limits, which made build geometry and assembly choices non-negotiable.
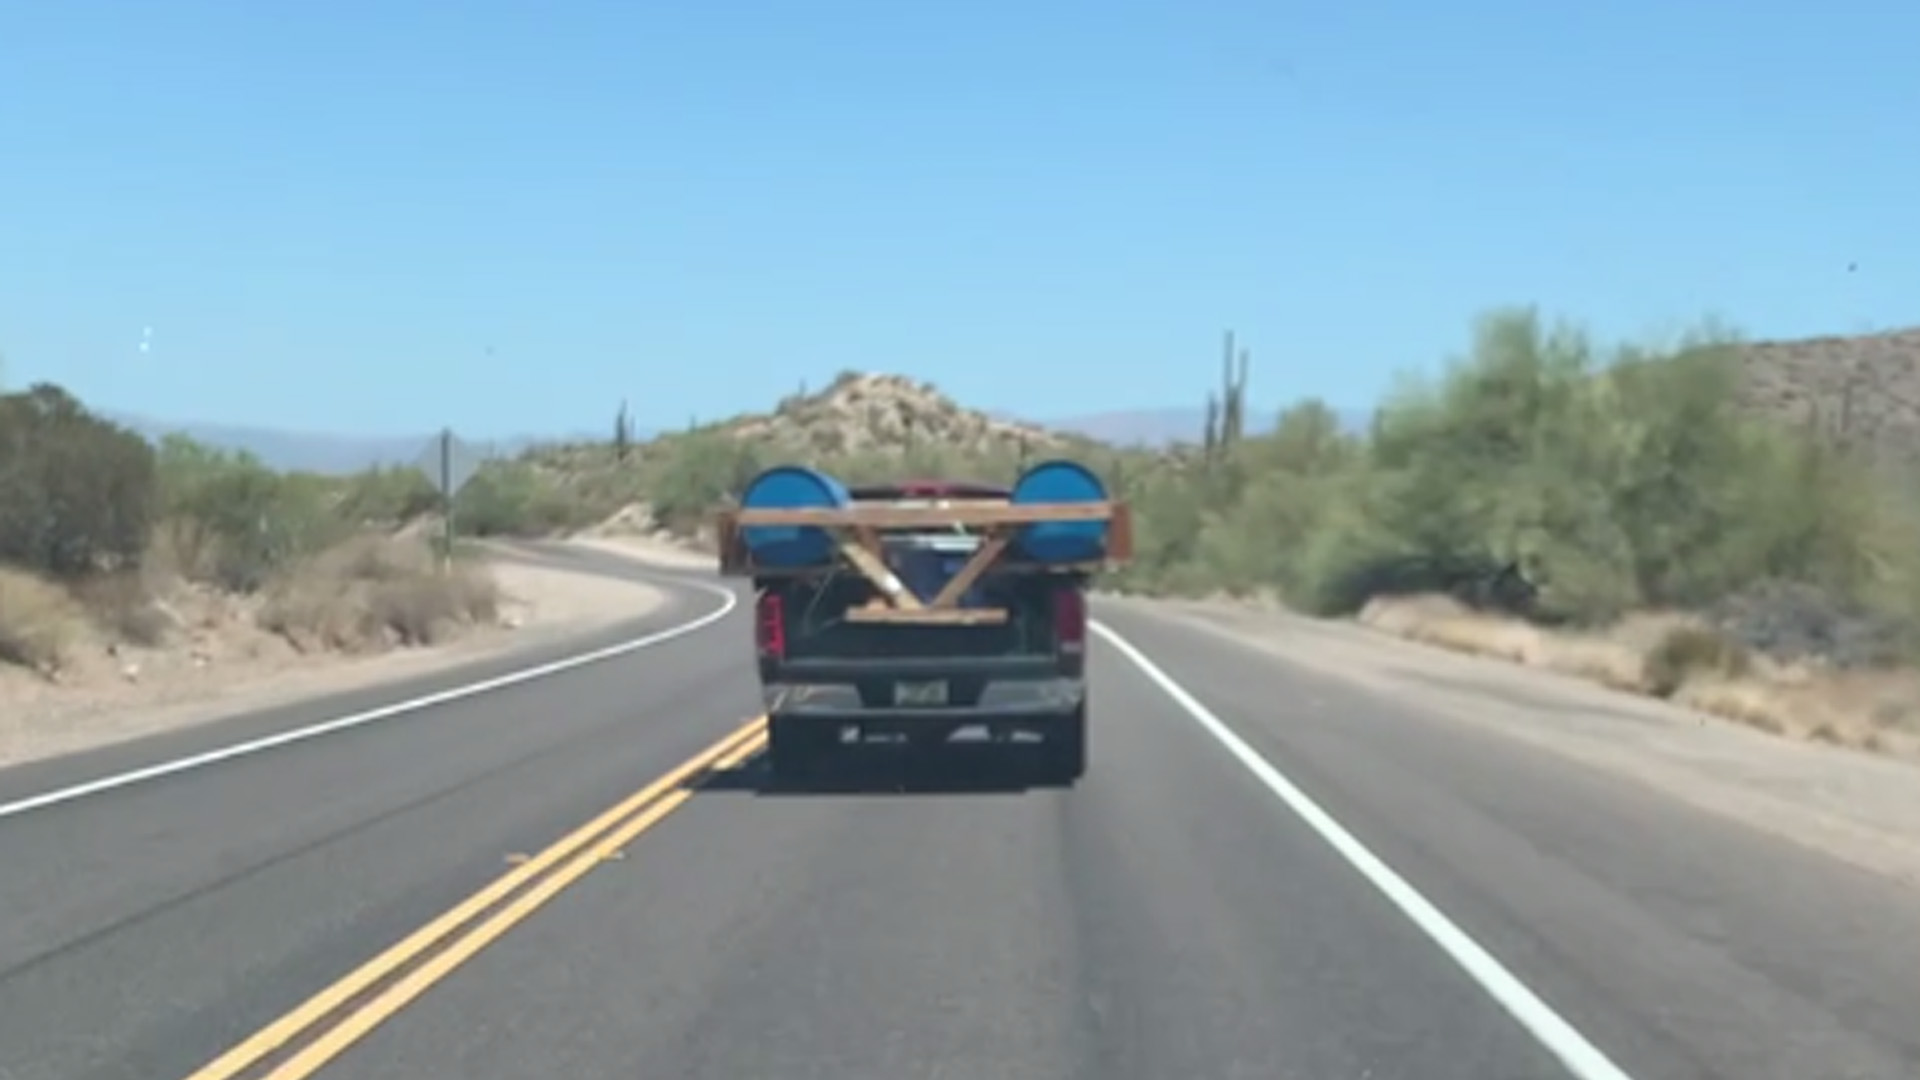
Loaded in the truck.
Safety & Compliance
- Brought inner tubes as a backup contingency if a barrel failed.
- Checked with local river authorities. OK as long as it was unpowered.
- Personal flotation devices were available.
- Personal safety philosophy: “Trust me Bro”
What I'd Do Next
- Add sacrificial skid surfaces for shallow drags and rock contact zones.
- Improve modularity so it breaks down faster for transport and storage.
- Refine sealing strategy and add inspection points for repeat runs.
- Turn the build into a repeatable plan with cut list and bracket drawings.
- Add a rudder for steering capabilities.
- Reinforce the table or replace it with better wood rather than a door.
- Add a wooden bracket for a cooler on the rear rudder end.
- Add a welded steel barbeque pit on the front.